Install and configure UniFi Identity VPN
|
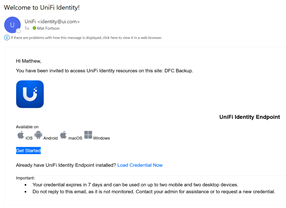
1. Open the email from [email protected].
Click the Get Started option. |
|
|
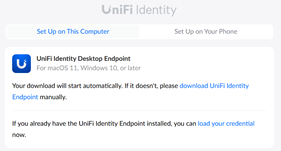
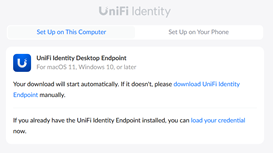
2. The download should automatically start for UniFi Identity Desktop Endpoint. If it does not, select the “download UniFi Identity Endpoint” option.
|
|
|
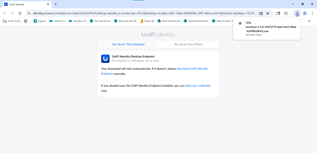
3. Once the file has downloaded, select it when it shows in the top right corner.
|
|
|
4. The application will load as shown. |
|
|
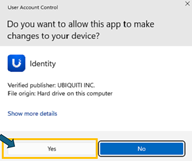
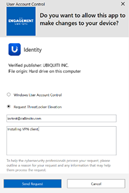
5. If you see a User Access Control box, click Yes if available. Otherwise, select the “Request ThreatLocker Elevation” bubble and submit the request. Someone from the IT Support team will be in touch within 5 minutes (within normal business hours) with further instructions. |
|
|
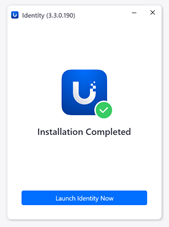
6. The application will start to finalize its installation. |
|
|
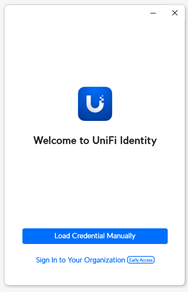
7. Select the Load Credential Manually option.
|
|
|
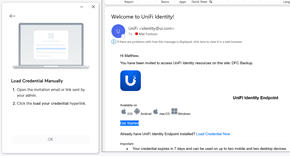
8. Reopen your email from UniFi and select the Load Credential Now option. |
|
|
9. Select the Load Your Credential option to start the process. |
|
|
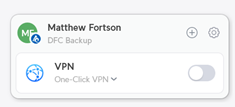
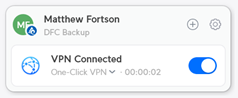
10. The VPN will now open in the bottom right corner of your screen. |
|
|
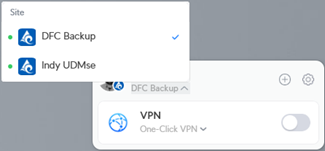
11. Repeat steps 8-10 with the second Welcome email to add the alternative VPN site. |
|